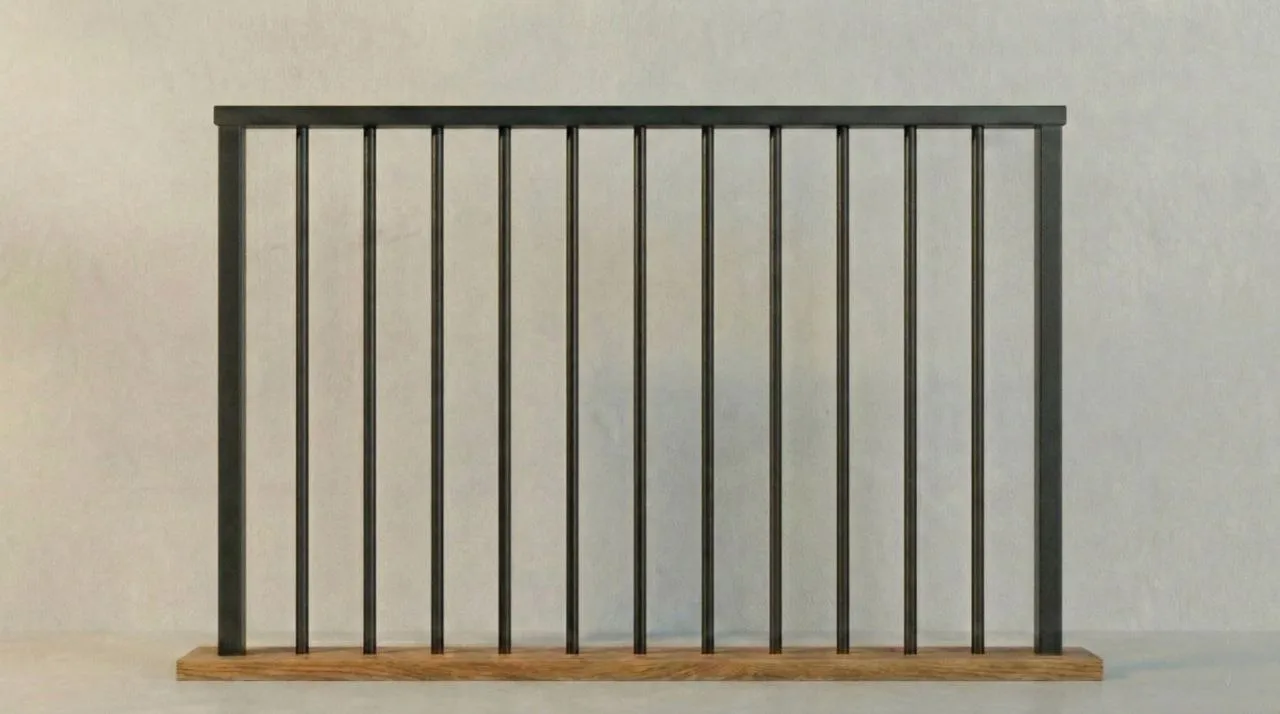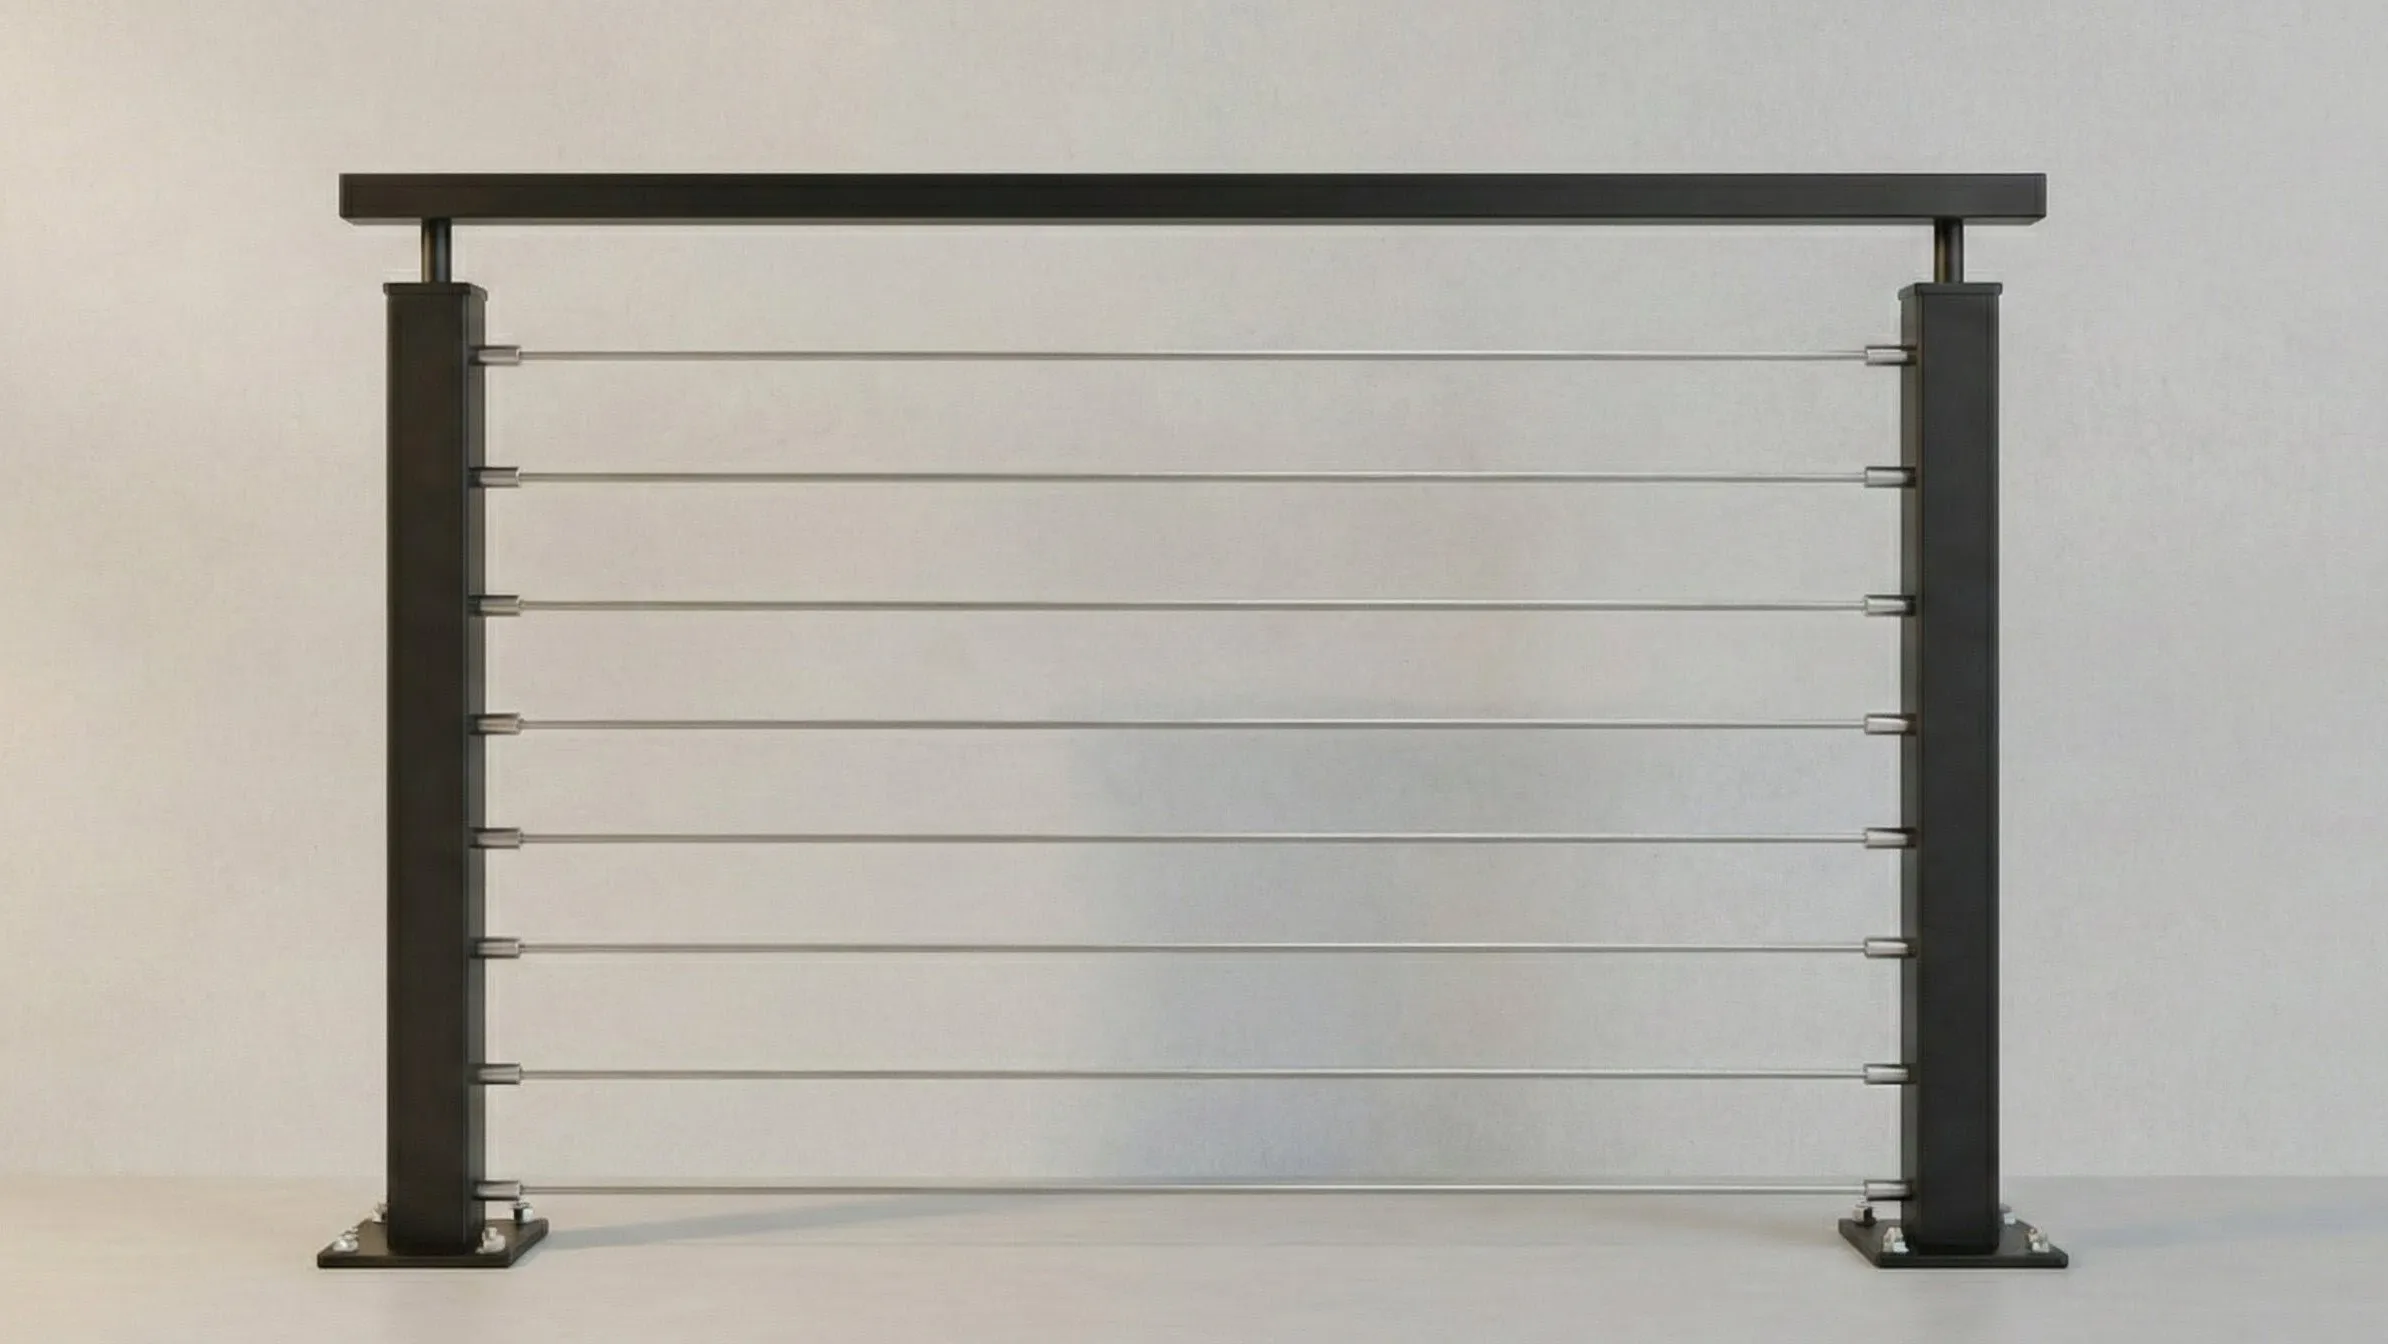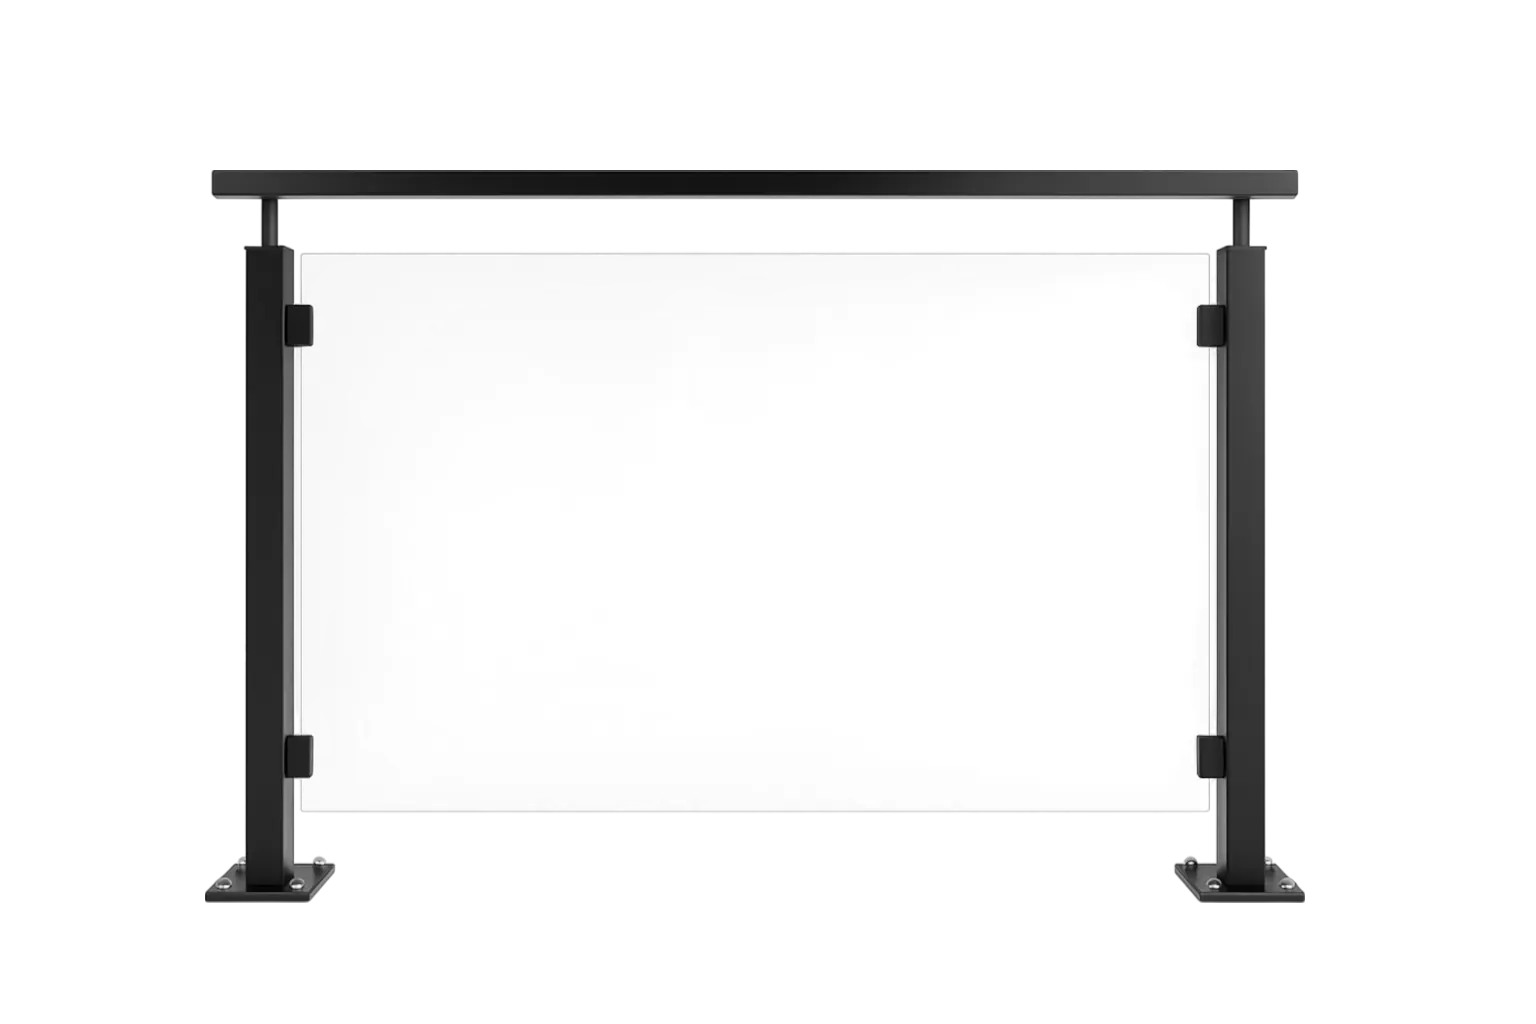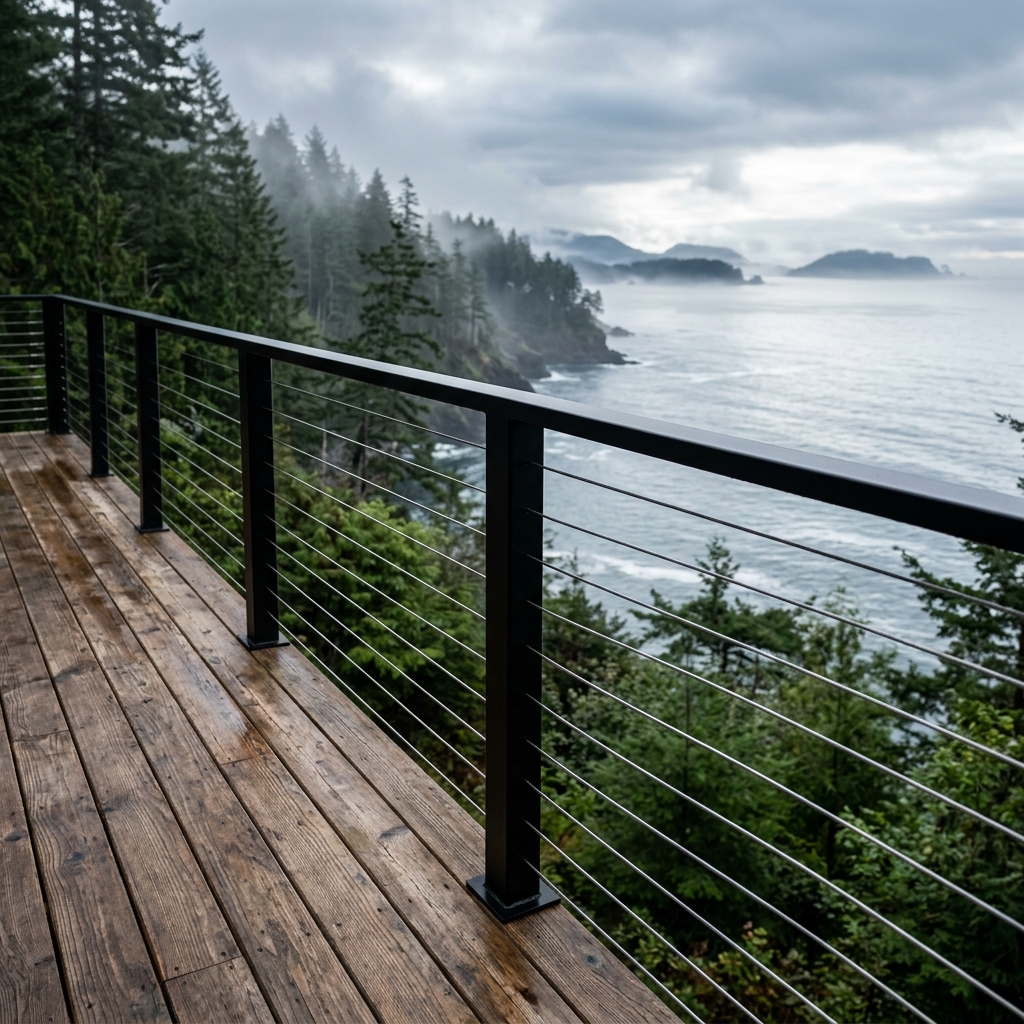
The railing kit arrives in a flat box. The product photos on the website looked sharp — black posts, clean lines, modern cables. The online reviews mostly said "easy install" and "looks great." The shipping was fast. You watched a YouTube tutorial and it seemed straightforward.
Six weekends later, every cable run is installed. The posts are up. You step back and look at your deck. It looks good. Maybe not magazine-perfect, but good. You tell yourself you made the right call.
This is where most DIY railing stories end on the internet — at the "after" photo, taken on day one, in good light, from the best angle.
This article is about what happens after day one. What homeowners discover at month three, month six, year one, and year three. We know because a significant portion of our work at LOUEI Metal Arts involves removing kit railings that looked great on day one — and replacing them with welded systems that will still look the same in 2040.
If you are currently researching kit options, read this before you order. If you have already installed a kit and are starting to notice the issues described below, know that you are not alone — and that correction is straightforward.
Why Kits Are
Appealing
The pitch is real. The problems come later.
We are not going to pretend that railing kits have zero appeal. They are popular for real reasons:
- They ship to your door in a box — no site visit, no waiting for fabrication.
- They come with instructions and YouTube tutorials.
- The initial commitment feels smaller — no site visit, no fabrication wait time.
- For a homeowner with basic tools and a level deck, a kit can produce a functional railing in a weekend.
We respect the DIY impulse. If you built your own deck, installed your own fence, or tiled your own bathroom, the idea of installing your own railing is a natural extension of that confidence.
The issue is not whether you can install a kit. You can. The issue is what happens to that kit over time — in BC's specific climate, on BC's real-world decks, under BC's building code requirements. The gap between a kit's day-one appearance and its year-three reality is where the regret lives.
"We are not here to shame anyone who installed a kit. We are here because enough of those homeowners have called us afterward that the pattern is worth documenting."
The Discovery
Timeline
Day one looks great. Here is what the next three years look like.
The Rattle
You lean against the railing during a dinner party. You feel a slight vibration — not a wobble, exactly, but a resonance. A buzz. Someone bumps the post and you hear a faint metallic click from inside the splice joint. You tell yourself it is normal. It is not. The bolted connection between the post and the top rail has enough play to transmit vibration. A welded joint does not move. This is the first sign.
The Shimmer
You notice that the powder coat on the brackets and splice plates looks different from the rest of the posts. It has a faint sheen — not exactly rust, but a discolouration where the bracket meets the post. This is moisture sitting in the uncoated gap between two factory-finished surfaces. The coating was applied to each piece individually; the connection point was never sealed. Water found the gap on day two. You are seeing the result ninety days later. See exactly how this moisture cycle destroys finishes in our climate destruction guide.
The Sag
On a cable system, you press your hand flat against the middle cable at mid-span. It flexes more than you remember. The gap between cables two and three opens to roughly four inches — just enough for a 100 mm sphere. The cables have not "stretched" in the way wire stretches under load. The turnbuckle fittings have settled. The end-post anchoring has shifted microscopically under the cumulative tension of eight to twelve cables pulling inward. The kit manufacturer's installation guide said to "re-tension after 30 days." You did. But there was no mention of a six-month check. One of the first signs a kit system was under-built is recurring cable sag. See why cable railing keeps sagging after tightening. For cable tension maintenance best practices, see our cable railing page.
The Gap
Your deck is not perfectly flat. No deck is. Over one full cycle of Vancouver's wet-dry seasons, the deck boards have moved — some have cupped, some have shifted at the joist connections. The bottom rail of your kit system, which was installed level to itself, no longer follows the deck surface consistently. At the low point, the gap between the bottom rail and the deck exceeds 100 mm. A building inspector would fail this on sight. For the full list of what inspectors check, see our inspection guide.
The Stain
Orange streaks appear on the deck boards below two of the post base plates. The base plates are powder-coated, but the mounting screws were standard zinc-plated — not stainless. Galvanic corrosion between the zinc screws and the aluminum base plate has produced rust runoff that has permanently stained the cedar. The stains will not sand out without removing a significant layer of wood. This is galvanic corrosion — the same phenomenon covered in our railing material guide. Read the full science of material failure.
The Call
Something falls. A glass that was sitting on the top rail. A plant pot that was resting against a post. Or nothing falls — you simply lean against the railing one evening and feel it give in a way that feels unsafe. You look at the splice joints. Two of them have visible daylight through them. The powder coat at the bracket edges has cracked and lifted, exposing raw metal to Vancouver's rain. You search "custom railing replacement Vancouver" and call the first fabricator that answers.
"Every kit railing we have removed told the same story. Day one was fine. Year three was a call to us. The arc is remarkably consistent — and entirely preventable."
Five Discoveries
Homeowners Make
Not on the product page. Not in the YouTube tutorial. Not until it is installed on your deck.
Standard lengths do not fit non-standard decks
Kit railing ships in standard lengths — typically four-foot, six-foot, and eight-foot sections. Your deck is 23 feet 4 inches long with a 137-degree corner. The kit sections do not divide evenly. You field-cut two sections with an angle grinder, exposing raw metal edges that are no longer coated. These exposed cuts are where the finish will fail first. A custom-fabricated railing is dimensioned from your exact site measurements — every section fits without field cutting.
End posts are not designed for real-world cable tension
Cable railing kits typically ship with the same post profile for intermediate and end positions. But end posts and corner posts bear the cumulative tension of every cable in the run — far more stress than intermediate posts. On a ten-cable system with eight-foot spans, the end post is resisting hundreds of pounds of lateral pull. Kit end posts frequently bow inward within the first year. A fabricated system uses reinforced end posts or engineered end-post assemblies specifically designed for the tension load.
"Stainless steel" without a grade number is a warning sign
Many kit manufacturers list "stainless steel cables" without specifying the grade. In Metro Vancouver's coastal atmosphere, grade 304 stainless develops tea staining — tan surface discolouration — within two to four years. Grade 316 (marine-grade) resists this corrosion. If the product listing does not say "316" explicitly, assume it is 304.
Field-assembled joints are not sealed under the coating
This is the most consequential discovery and the one that takes the longest to become visible. When a kit is assembled on site, every bracket-to-post connection, every splice joint, every screw hole creates an uncoated metal-to-metal contact point. Powder coat was applied to individual components at the factory. The assembled connection point was never coated. Water enters these gaps within the first rainstorm. Corrosion begins immediately. You see the result six months to two years later, depending on your proximity to salt water. For a detailed explanation of why welded joints hold finish differently, see the coating section of our RAL colour guide.
The "warranty" often does not cover what failed
Kit warranties typically cover manufacturing defects in individual components — a cracked post, a faulty turnbuckle. They do not cover: finish failure at field-assembled connection points (because the manufacturer did not coat those connections), cable sag resulting from inadequate field tensioning, inspection failures, corrosion from galvanic contact between dissimilar metals (kit screws vs. posts), or any issue related to installation quality. The failure modes that actually occur on kit railings are almost always excluded from the warranty.
What Custom
Fabrication Means
Not "custom" as in "you pick the colour." Custom as in "built for your specific deck."
The word "custom" is overused in the railing industry. Many kit manufacturers label their products "custom" because you select from a dropdown of colours and lengths. That is not custom fabrication. That is a catalogue order.
At LOUEI Metal Arts, custom fabrication means:
Measured from your site
We visit your property and measure the exact geometry — every length, angle, slope, and mounting surface. We account for the deck sag you do not notice, the 2-degree slope toward the drainage edge, and the 137-degree corner that no kit section is designed to fit.
Drawn before fabrication
Shop drawings are produced showing every post location, rail profile, connection detail, and cable run. You approve the drawings before any steel is cut. Revisions are included. Nothing is improvised on site.
Welded as a complete assembly
Posts, rails, and returns are welded together on jigs in our Coquitlam shop. Every weld is ground smooth. The frame is dry-fitted and checked for alignment. Then the entire assembly is powder-coated in one oven pass — sealing every joint, edge, and surface under a continuous film.
Installed by the fabrication crew
The same team that measured your site and welded your frame installs it. There is no gap between intent and execution. No misread instructions, no misinterpreted drawings, no "it does not quite fit but we will make it work."
For the full technical specification comparison between welded and kit construction, see our black cable railing guide — specifically the Welded vs Kit comparison table in Section 04.
When a Kit Actually
Makes Sense
We are not absolutists. There are situations where a kit is the right call.
We would be dishonest if we claimed every railing project needs custom fabrication. There are scenarios where a kit is a reasonable choice:
KITS WORK WHEN:
- Your deck is perfectly square, perfectly level, and uses standard dimensions (four-foot or six-foot post spacing with 90-degree corners).
- You are installing on a rental or investment property where longevity beyond five to eight years is not a priority.
- You have genuine fabrication skills — welding experience, metalwork tools, and the ability to modify kit components to fit non-standard conditions.
- You are in an interior, dry, non-coastal environment where corrosion risk is minimal (e.g., an interior staircase in the Okanagan).
KITS STRUGGLE WHEN:
- Your deck has non-standard geometry — slopes, compound angles, irregular lengths, or mixed mounting surfaces.
- You are on the coast — anywhere in Metro Vancouver, the Sunshine Coast, or Vancouver Island — where salt air and persistent rain attack uncoated joints.
- You need to pass a building inspection — especially for a system change (e.g., replacing wood with cable) where a permit is required.
- The railing is on the primary outdoor living space of a home you plan to own for ten or more years.
Kit to Custom:
The Process
What happens when you call us to replace a kit.
A significant portion of our annual workload is kit-to-custom replacements. The process is straightforward:
STEP 1 — Assessment
We visit the site, inspect the existing kit railing, and assess the mounting points. If the original posts were surface-mounted (which most are), we evaluate whether the existing anchor locations can be reused or whether new structural connections are needed.
STEP 2 — Removal and disposal
We remove the existing kit system, extract fasteners, and dispose of all materials. If the deck surface was damaged by corrosion runoff or over-drilled screw holes, we note the repairs needed.
STEP 3 — Fabrication
Your replacement system is fabricated from exact site measurements — welded, ground smooth, and powder-coated in our Coquitlam shop. This typically takes two to four weeks depending on system complexity.
STEP 4 — Installation
The new railing is installed in one to two days. Posts are structurally anchored. Cables are pre-swaged and tensioned. Glass is set. Walk-through with the homeowner. Ready for inspection.
Build it once.
Skip the kit.
Every LOUEI Metal Arts railing is measured, fabricated, and installed by the same crew — welded in our shop and built to last decades, not seasons.
FAQ
Common questions about railing kits vs. custom fabrication.
What are the most common problems with DIY railing kits?
The most common issues are: bolted joints that loosen and rattle within one to three years, powder coat failure at uncoated splice points and bracket surfaces, cable sag from inadequate tensioning hardware, posts that flex because they are surface-mounted instead of structurally anchored, standard lengths that do not fit non-standard deck geometry (requiring field cuts that expose uncoated edges), and failed building inspections due to sphere spacing or load capacity shortfalls.
Can a DIY railing kit pass a building inspection in BC?
Some kits can pass — if installed perfectly, on a perfectly level and square deck, with proper structural anchoring. In practice, many kit installations fail inspection because of cable deflection exceeding 100 mm, posts not anchored to structural framing, or bottom-rail gaps that exceed the sphere test on an uneven deck surface. For the complete inspection checklist, see our inspection guide.
Why do kit railing finishes fail faster than custom railings?
Kit components are powder-coated individually. When assembled on site, the connection points are left uncoated. These exposed junctions are where moisture enters and corrosion starts. A custom welded railing is coated as a complete sealed assembly. For more detail, see the coating section of our RAL colour guide.
Is a DIY railing kit actually less work than hiring a fabricator?
The kit itself can be installed in a weekend. But re-tensioning cables, touching up coating damage from field cuts, re-tightening bolts seasonally, modifying sections for non-standard angles, and the possibility of tear-out and full replacement within five to eight years add up to significantly more total time and effort than a single professional installation that lasts decades without follow-up.
What is the difference between a welded railing and a kit railing?
A welded railing is fabricated as a single rigid frame with all joints sealed under powder coat. A kit ships as loose components bolted together on site. For a detailed specification comparison, see the Welded vs Kit table in our black cable railing guide.
Can LOUEI Metal Arts replace a failing kit railing?
Yes. A significant portion of our work involves removing deteriorating kit railings and replacing them with welded, powder-coated systems built to the exact geometry of the homeowner's deck. We handle removal, disposal, structural assessment of the mounting points, fabrication, and installation.

Written by LOUEI Metal Arts
We remove kit railings regularly. This article documents the patterns we see on those removals — the same splice-joint corrosion, the same cable sag, the same surface-mounted posts — project after project. The timeline is based on what homeowners tell us when they call, and what we find when we arrive.
About LOUEI Metal Arts
LOUEI Metal Arts is a premier custom metal fabricator serving Vancouver, Burnaby, Coquitlam, and the Lower Mainland. We specialize in high-end, code-compliant architectural systems.