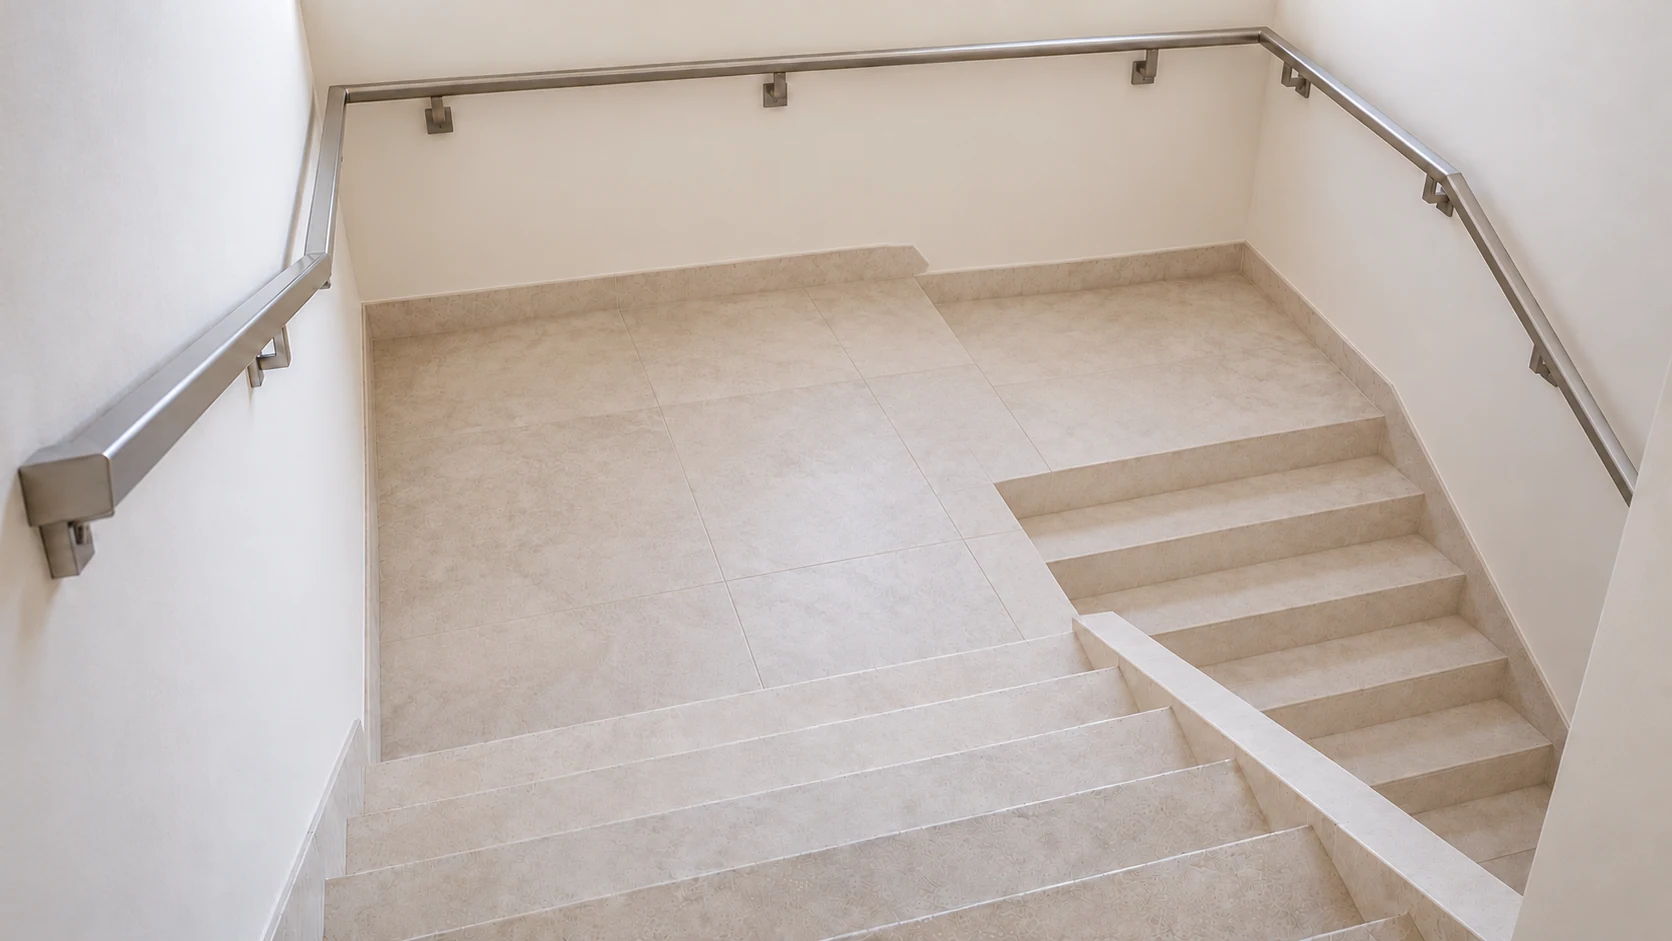
Before ordering a handrail, describe where it starts, turns and ends. This guide helps homeowners and designers in Greater Vancouver prepare clear photos and questions, then discuss the profile, brackets and finish.
At a glance
In this guide
01 — Planning details
A handrail is a route for the hand
A handrail is designed to be grasped for support and guidance. A guard protects an open edge. Some designs include both, but a decorative top rail should not automatically be treated as a suitable handrail.
Trace the planned route on your photo or sketch, from the approach to the upper landing. Note where the stair changes direction, where a wall ends and where another surface meets the rail.
These are design questions—not confirmation that an existing staircase is safe.
For a project-specific design, use the applicable building requirements. The BC code register and Vancouver Building By-law register are separate sources. This guide does not prescribe universal heights, extensions or clearances.
02 — Planning details
Mark the starts, stops and changes of direction
Use one photo or simple sketch with four numbered checkpoints. The numbers organise the conversation; they are not construction dimensions. Keep the same numbering on any follow-up drawings or photographs.
Opening up a stair half-wall? Review the wall, guard support and finished edge alongside the handrail route.
| Checkpoint | What to show | Question to resolve |
|---|---|---|
| 1 — Start | The approach and first steps | Where does the usable handrail route begin? |
| 2 — Turn | The landing and next flight | How will the handrail follow this change of direction? |
| 3 — Touch | The profile, brackets and nearby surfaces | How do the rail, brackets and nearby surfaces fit together? |
| 4 — End | The final steps, wall or post | How will the rail end without obstructing the walking route? |
1 — Start
- What to show
- The approach and first steps
- Question to resolve
- Where does the usable handrail route begin?
2 — Turn
- What to show
- The landing and next flight
- Question to resolve
- How will the handrail follow this change of direction?
3 — Touch
- What to show
- The profile, brackets and nearby surfaces
- Question to resolve
- How do the rail, brackets and nearby surfaces fit together?
4 — End
- What to show
- The final steps, wall or post
- Question to resolve
- How will the rail end without obstructing the walking route?
Show the full context, not only a close-up. A photograph of a bracket without its wall or landing leaves important questions unanswered. Take photographs from a stable, accessible position; do not lean over an edge or test an uncertain rail.
Tell the fabricator what is still changing: a new wall finish, wider trim, a revised stair layout or a different floor surface. The stair measurement preparation checklist covers when those details are ready for final dimensions.
03 — Planning details
Returns, brackets and the surfaces people touch
A return turns a handrail end back toward a wall, post or floor. The right ending depends on the route and your project's requirements. Ask which detail should be reviewed for your stairs.
Your designer should confirm where the handrail continues, how its ends are treated and the clearances needed for the actual stair and building. For Vancouver Part 9 examples, consult the handrail provisions alongside the current by-law register.
Discuss where the brackets will sit, what they will attach to and any available support information. A finished wall does not, by itself, establish a suitable attachment condition.
Ask to see a sample of the proposed profile, joint and finish where available. Review how the surfaces meet and whether the detail matches the agreed appearance. A photograph or sample does not establish structural performance or code compliance.
Describe the look and route you want. The responsible project team should confirm the dimensions, connections and assembly details. Explore custom handrails for the service options.
04 — Planning details
An exterior entry: the door, landing and daily route
At an entry, show the door opening direction, threshold, landing and steps together. Note where people approach, pause or carry everyday items. Ask the project team to review possible conflicts between the handrail and the door or walking route.
Say whether the entry is covered or exposed, and mention any existing surface conditions. Do not test grip or balance on wet, icy or otherwise uncertain steps.
The responsible designer or authority should establish the requirements for your building and route. For background, see the BC guard and handrail guide; it is not approval of a particular detail.
05 — Planning details
What to bring to a handrail site review
Send a small, useful package rather than every document you own:
- One wide view of the stair or entry and a view of each landing.
- The four numbered checkpoints, with a close-up where a question needs it.
- The latest available plans, their revision and known final wall or floor finishes.
- A plain-language description of how the route needs to work.
- The project location, stage and practical access arrangements.
Explain what the handrail needs to do, without medical information—for example, "We want to discuss the connection at this landing." Label rough dimensions as approximate; agree final fabrication dimensions with the responsible project team.
06 — Planning details
Agree the detail, then document the handover
Before fabrication, identify the agreed drawing revision, profile, finish, bracket arrangement and termination details. Name who will resolve any open question. A visit, a concept image or a verbal preference is not the same as an approved construction detail.
At handover, retain the agreed details, care information and contact for questions. If the wall finish, door or stair layout changes, tell the team before relying on the earlier design.
Quick answers
Frequently asked questions
Does every handrail need the same return?
No single detail should be assumed to suit every project. Location, building requirements and the complete route matter. Ask the responsible designer or fabricator which termination should be reviewed for your staircase.
Is the top of my railing already a handrail?
Not necessarily. A guard's top rail and a handrail have different functions. Ask the project team to review the actual profile and arrangement instead of deciding from appearance alone.
Can I get started without drawings?
Yes. Send clear photographs, the project location and the change you are considering. The team can identify the next information needed; photographs do not replace final measurements or technical review.
Do I need to share medical information?
No. Explain the functional needs of the route, not a diagnosis. Photos and descriptions of the stair, landing and entry are the useful starting point.
Your next step
Plan the handrail route for your stairs or entry
Send your project to LOUEI Metal Arts with photos and a short note: "The handrail needs to turn or finish here: ___." You do not need every answer before starting the conversation.
Prefer a separate email or a call? Both remain available on our contact page.
Sources