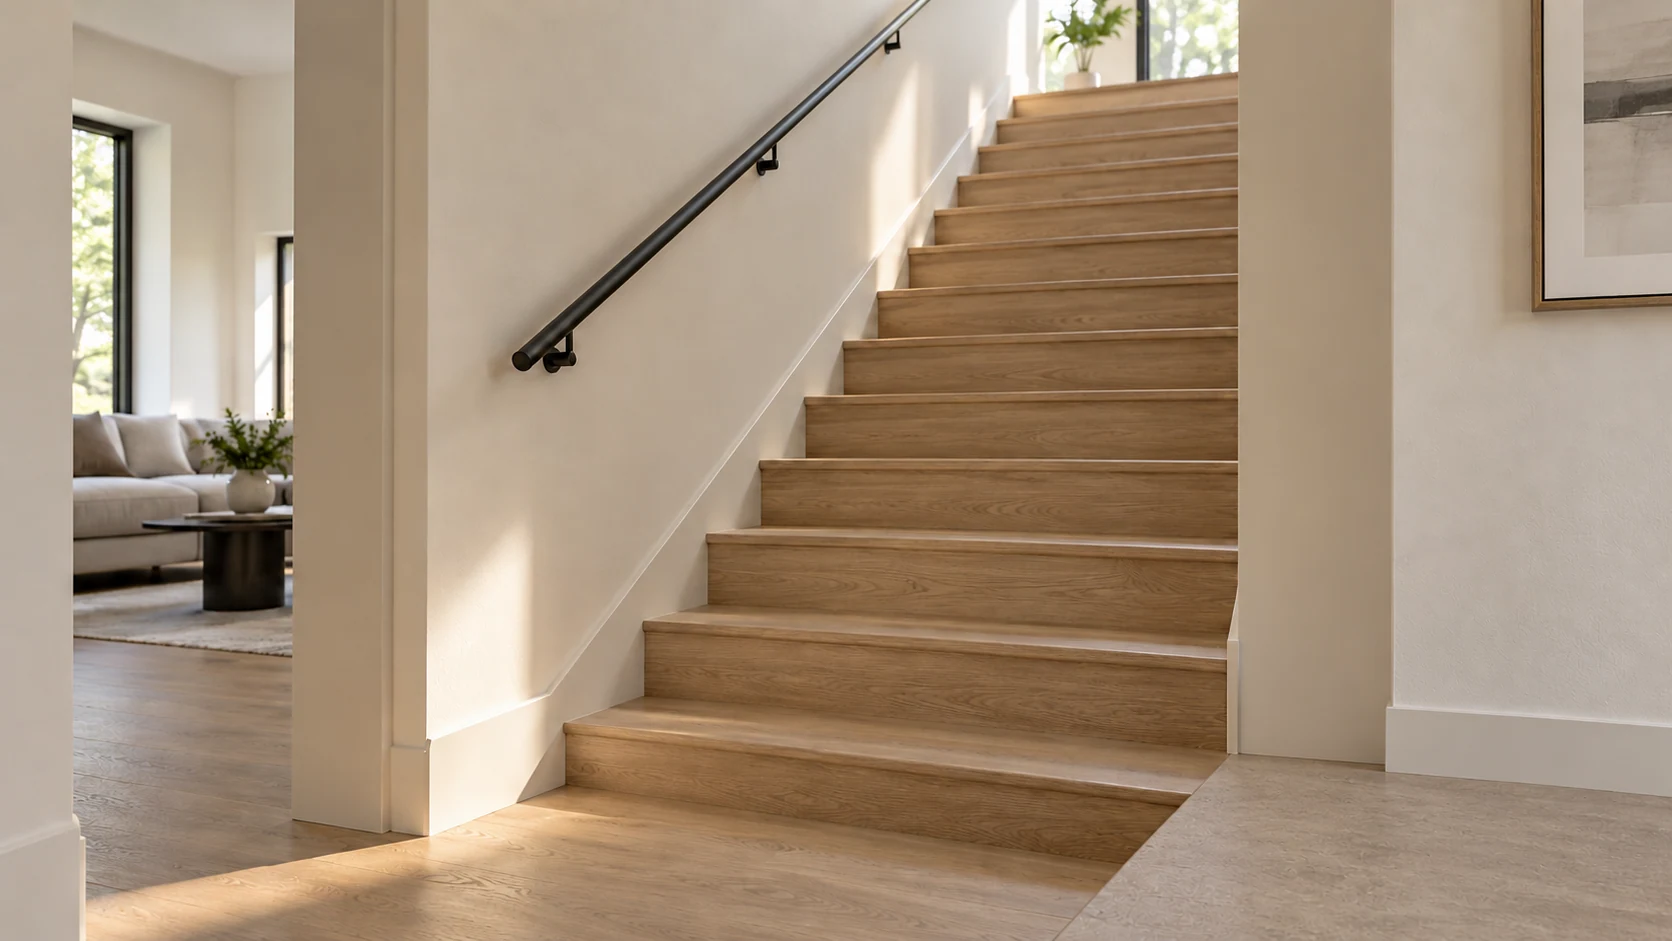
You can discuss a railing before the staircase is ready for the final dimensions used to make the railing. Start with photos and plans. For final measurement, agree which finished surfaces, drawings and site conditions the dimensions will use; leave undecided details clearly marked.
This stair railing measurement preparation guide helps homeowners, builders and designers in Greater Vancouver coordinate those answers. It is not a DIY measuring method, engineering design or fabrication sign-off. Installed finishes or confirmed construction details may be needed: agree the basis for your project.
01 — Start the conversation
Separate an early discussion from final fabrication dimensions
Show the whole stair, both landings and the floor or wall connections. Say whether it is a new staircase, renovation or railing replacement. Include available drawings and identify finishes still being chosen.
Your own dimensions can explain the scope. Label them approximate, include units and do not treat them as approved manufacturing dimensions.
Ask the fabricator what needs site verification, what the drawings confirm and what remains unresolved. Agree the final measurement basis; an appointment alone does not authorise fabrication. Explore stair railings in Vancouver for the wider service.
02 — Name the reference surfaces
Record the finished surfaces and open decisions
Identify each landing floor, stair tread, riser and nearby wall finish. The tread is where you step; the riser is the vertical face between steps.
Mark each finish installed, specified but not installed, or undecided. For uninstalled finishes, ask the responsible trade for the intended finished level or wall face and supporting detail. Use actual product and construction information—not a guessed standard thickness.
Record the drawing number, revision and date. A marked-up detail is easier to verify than “as discussed”.
Where Part 9 of the BC Building Code applies, its handrail provisions reference stair nosings (the front edges of steps) or floor/landing surfaces for height, and the surface behind the rail for clearance. This explains why finishes matter—not a universal construction sequence.
03 — Check what meets the railing
Check the interfaces beyond the railing itself
Mark nearby work and access issues on the photos or plan:
- Doors at landings and their opening direction.
- Skirting, trim and wall returns near brackets or posts.
- Lights, switches and nearby fixtures.
- Adjacent cabinetry, glazing or unfinished work.
- Property access and visit or installation restrictions.
These prompts do not approve clearances, electrical work or connections; ask the relevant professional to resolve them. If a separate graspable rail is planned, see handrail options. A decorative railing and handrail are not necessarily the same element.
04 — Give each question an owner
Agree who confirms each dimension and attachment condition
Assign each open question to a named person: the site coordinator, stair contractor, flooring installer, designer or fabricator. Record who actually checked the detail, not just their job title.
Separate visible attachment conditions from documented support information. Finished surfaces do not reveal what is behind them. Mark missing support or substrate information unknown and ask the responsible professional how to verify it. Do not drill or open finishes to complete this checklist.
For technical review, consult the BC Building Code and code revisions register. Vancouver has its own Building By-law. The responsible professional should confirm the requirements for the location and permit history. This checklist does not confirm code compliance.
05 — Keep one shared record
Use a measurement-ready checklist at the coordination meeting
Start one shared record with the project reference, stair or landing location, review date, current drawing revision and contact person. Label photos and later revisions with the same reference.
Mark each item known or unknown, name the responsible person and link the evidence. “Known” needs a checkable answer. A hold point is a question to resolve before treating the affected dimension or detail as final.
| Item | Status | Responsible person | Evidence to attach | Hold point to resolve |
|---|---|---|---|---|
| Stair and landing layout | Known / unknown | Name: ___ | Current plan and location-labelled photos | Layout or location still changing |
| Landing floors | Known / unknown | Name: ___ | Installed finish or confirmed finished-level detail | Final level not confirmed |
| Treads and risers | Known / unknown | Name: ___ | Stair detail and finish information | Stair finish or geometry unresolved |
| Walls and trim | Known / unknown | Name: ___ | Finished face, trim detail or marked-up photo | Bracket/post interface undecided |
| Attachment conditions | Known / unknown | Name: ___ | Relevant support detail or professional review | Supporting information missing |
| Doors, fixtures and access | Known / unknown | Name: ___ | Marked-up plan/photos and access notes | Conflict or restriction unanswered |
| Measurement basis and changes | Known / unknown | Name: ___ | Agreed basis, drawing revision and open-question list | Assumptions not agreed or a later change unreviewed |
Stair and landing layout
- Status
- Known / unknown
- Responsible person
- Name: ___
- Evidence to attach
- Current plan and location-labelled photos
- Hold point to resolve
- Layout or location still changing
Landing floors
- Status
- Known / unknown
- Responsible person
- Name: ___
- Evidence to attach
- Installed finish or confirmed finished-level detail
- Hold point to resolve
- Final level not confirmed
Treads and risers
- Status
- Known / unknown
- Responsible person
- Name: ___
- Evidence to attach
- Stair detail and finish information
- Hold point to resolve
- Stair finish or geometry unresolved
Walls and trim
- Status
- Known / unknown
- Responsible person
- Name: ___
- Evidence to attach
- Finished face, trim detail or marked-up photo
- Hold point to resolve
- Bracket/post interface undecided
Attachment conditions
- Status
- Known / unknown
- Responsible person
- Name: ___
- Evidence to attach
- Relevant support detail or professional review
- Hold point to resolve
- Supporting information missing
Doors, fixtures and access
- Status
- Known / unknown
- Responsible person
- Name: ___
- Evidence to attach
- Marked-up plan/photos and access notes
- Hold point to resolve
- Conflict or restriction unanswered
Measurement basis and changes
- Status
- Known / unknown
- Responsible person
- Name: ___
- Evidence to attach
- Agreed basis, drawing revision and open-question list
- Hold point to resolve
- Assumptions not agreed or a later change unreviewed
For an irrelevant row, write not applicable and explain why. Send unanswered questions to the right people; do not guess to complete the sheet.
06 — Keep the changed detail visible
What happens if something changes after measurement?
Send the fabricator the changed finish and revised detail before relying on affected dimensions. The responsible people should decide what needs review and whether remeasurement is necessary. This example establishes no particular code outcome, cost or delay.
For any revised tread, wall finish or nearby door, retain the earlier record and identify the new revision and who confirmed the next step. For permitted work in Vancouver, ask the applicant or project professional whether the City's building permit amendment process applies.
Quick answers
Frequently asked questions
Does all the flooring have to be installed before railing measurement?
Not necessarily for an initial discussion. For final fabrication dimensions, agree the measurement basis with the fabricator and responsible trades. An unfinished staircase or installed floor is not automatically sufficient.
Can I send my own measurements to get started?
Yes. Label them approximate and include units. They explain your enquiry, but do not replace agreed final dimensions and technical review.
What if I do not have drawings?
Send clear photos, the location and what is changing. Identify unavailable drawings or finish details rather than presenting them as confirmed.
Does completing this checklist mean the railing is approved to build?
No. It organises questions and evidence. Fabrication authorisation, technical design and any required approvals remain separate.
Your next step
Review the readiness of your stair railing project
Send your project to LOUEI Metal Arts with photos, the project stage and available plans. Add: “These finishes and site details are still being decided: ___.” You do not need every answer to get started.
Prefer a call or separate email? Find both on our contact page.